Import your samples to build a General MIDI drum kit
1. Prepare Your Drum Kit Samples
On your computer, organize your samples by sorting them into folders while following the folder structure below:
| Folder Name | Sound Type | Minimum Number of Samples | Maximum Number of Samples |
|---|---|---|---|
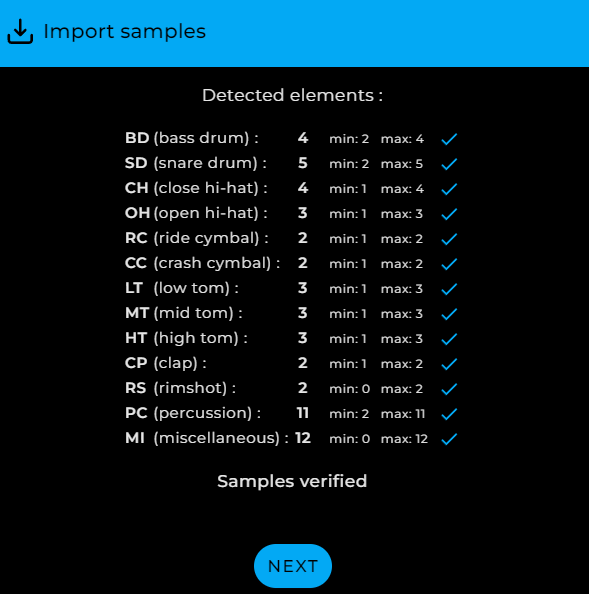
| BD | Bass Drum | 2 | 4 |
| SD | Snare Drum | 2 | 5 |
| CH | Closed Hi-Hat | 1 | 4 |
| OH | Open Hi-Hat | 1 | 3 |
| RC | Ride Cymbal | 1 | 2 |
| CC | Crash Cymbal | 1 | 2 |
| LT | Low Tom | 1 | 3 |
| MT | Mid Tom | 1 | 3 |
| HT | High Tom | 1 | 3 |
| CP | Clap | 1 | 2 |
| RS | Rimshot | 0 | 2 |
| PC | Percussion | 2 | 11 |
| MI | Misc: FXs, hits, chords, vocals... | 0 | 12 |
Move your samples into the appropriate folders.
✅ For each folder, the samples are organized in the kit in ascending order, following the alphabetical order of the file names. You can use a naming convention to arrange them in the desired order: 01-sample.wav, 02-sample.wav, etc.
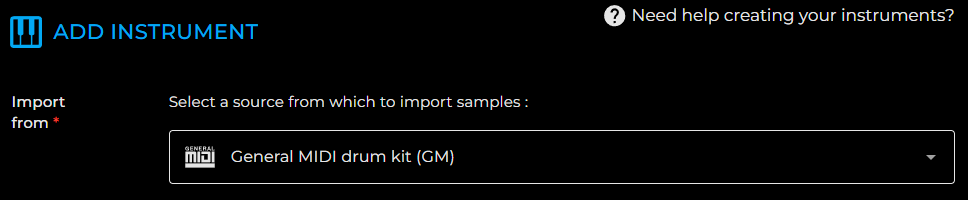
2. Select as Import Source
3. Drag and Drop the Folders Containing Your Samples
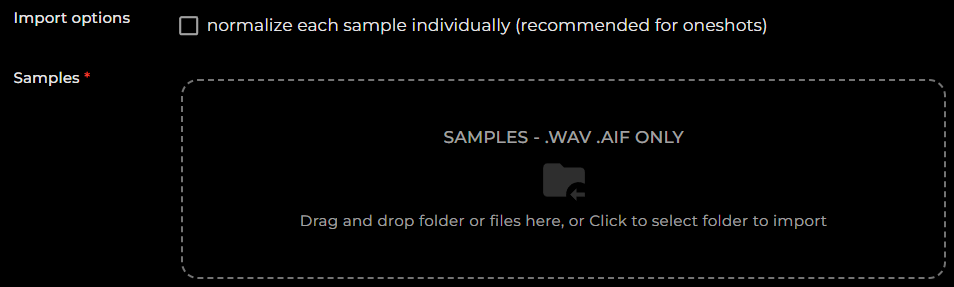
3.1. choose you import options if necessary :
- Normalize each sample individually: Adjusts the volume level of each sample so that its peak reaches 0dB.
3.2. Drag and drop the previously prepared folders, containing your samples, into the drop zone.
The organization of the uploaded samples is verified, and a summary is displayed:
✅ Drum kits built by DiViNe samples are compatible with the General MIDI (GM) standard.