Import your samples from FL Studio DirectWave
New to DirectWave in FL Studio?
Start with these videos to learn how to capture your instruments using FL Studio's DirectWave sampler.
Useful resources:
- FL Studio: How to make multisampled instruments in DirectWave
- Alternative method for older versions of FL Studio
1. Export samples from FL Studio
1.1. Launch the DirectWave resampler in FL Studio
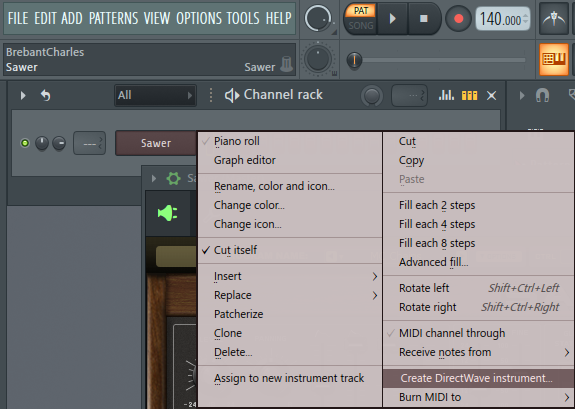
From the Channel Rack in FL Studio, load your plugin to be sampled, then right-click on it (here, Sawer), and select Create DirectWave instrument:
1.2. Select the target folder to save the samples
Give your instrument a name, for example, My Instrument:

1.3. Start the sampling process
Set the sampling options according to your instrument:
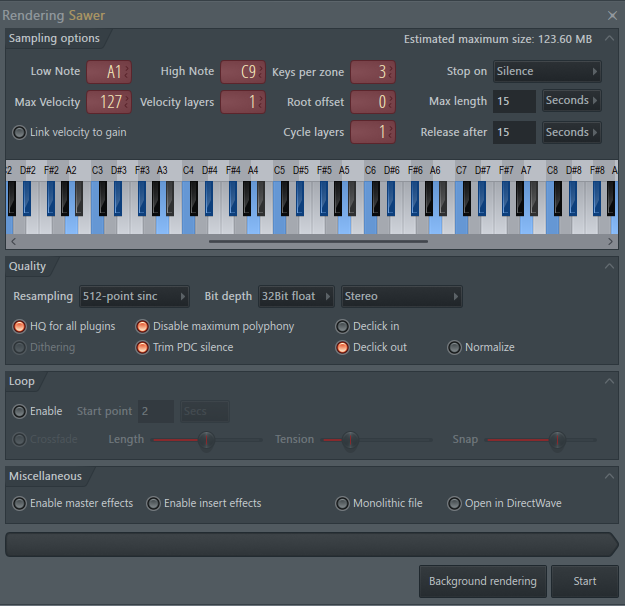
Once your settings are configured, start sampling your instrument by clicking the Start button.
1.4. Retrieve the samples generated by DirectWave
Open the target folder to retrieve the samples and check the naming of the exported files:
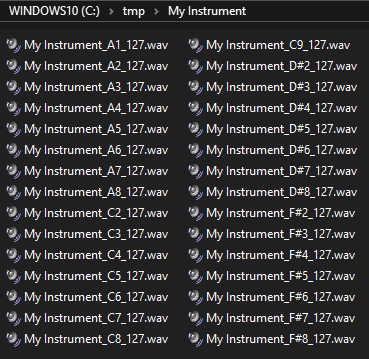
The file names are structured as follows: My Instrument_C9_127.wav
DiViNe Samples supports the following naming rule (regex): (?<name>.*)_(?<key>[A-G]#?\\d)_(?<velocity>[0-9]{1,3})_?(?<robin>[0-9])?
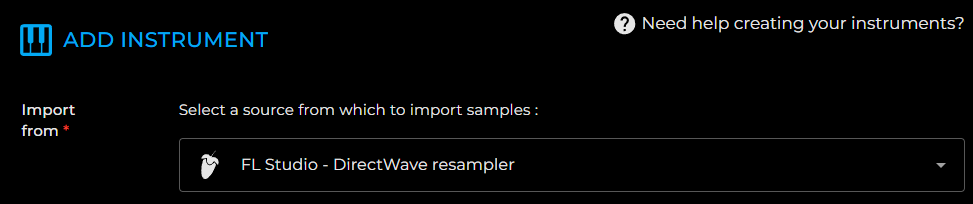
2. Select as Import Source
3. Drag and Drop the Folders Containing Your Samples
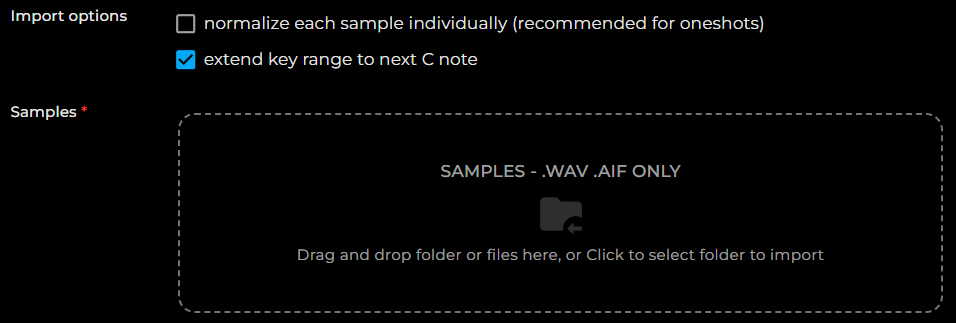
3.1. Choose your import options if necessary:
- Normalize each sample: Adjusts the volume level of each sample so that its peak reaches 0dB. ⚠️ this option should be avoided for a multi-sampled instrument
- Extend the note range to the next C: Ensures the note range extends to the note C for the first and last octave of the instrument.
3.2. Drag and drop all your samples into the drop zone.