Import your samples from SampleRobot
New to SampleRobot ?
Start with this video to learn how to capture your acoustic and electronic instruments using SampleRobot.
Useful resources:
1. Test Your SampleRobot Instrument with the SFZ Format (Recommended)
Before starting the export process for DiViNe Samples, it is highly recommended to locally test your instrument's functionality using the SFZ format and the SFZ player of your choice. We recommend SFIZZ or Sforzando for their reliability.
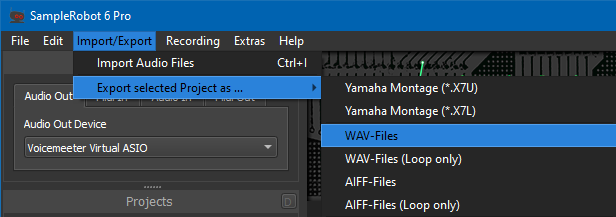
1.1. In SampleRobot, export the samples from: Top Menu > Import/Export > Export selected Project as > rgc:audio (*.sfz)
1.2. Test your instrument locally to ensure proper functionality.
Key Points to Test:
- Velocity response for multi-layered instruments: test different velocity levels.
- Attack time of the samples to ensure SampleRobot has correctly captured the beginning of each sample.
- Loop points for sustained instruments, such as strings, winds, pads, and drones, to ensure smooth playback.
⚠️ It is not recommended to import SFZ files generated by SampleRobot directly into DiViNe Samples. The SFZ files generated by SampleRobot are minimalistic and do not include advanced parameters required for playing techniques, such as velocity response, modulation wheel control, vibrato techniques, etc. This is why DiViNe Samples only accepts audio samples as input for SampleRobot import.
To import from an existing SFZ file and take advantage of our SFZ templates, refer to the documentation.
2. Export the Samples from SampleRobot
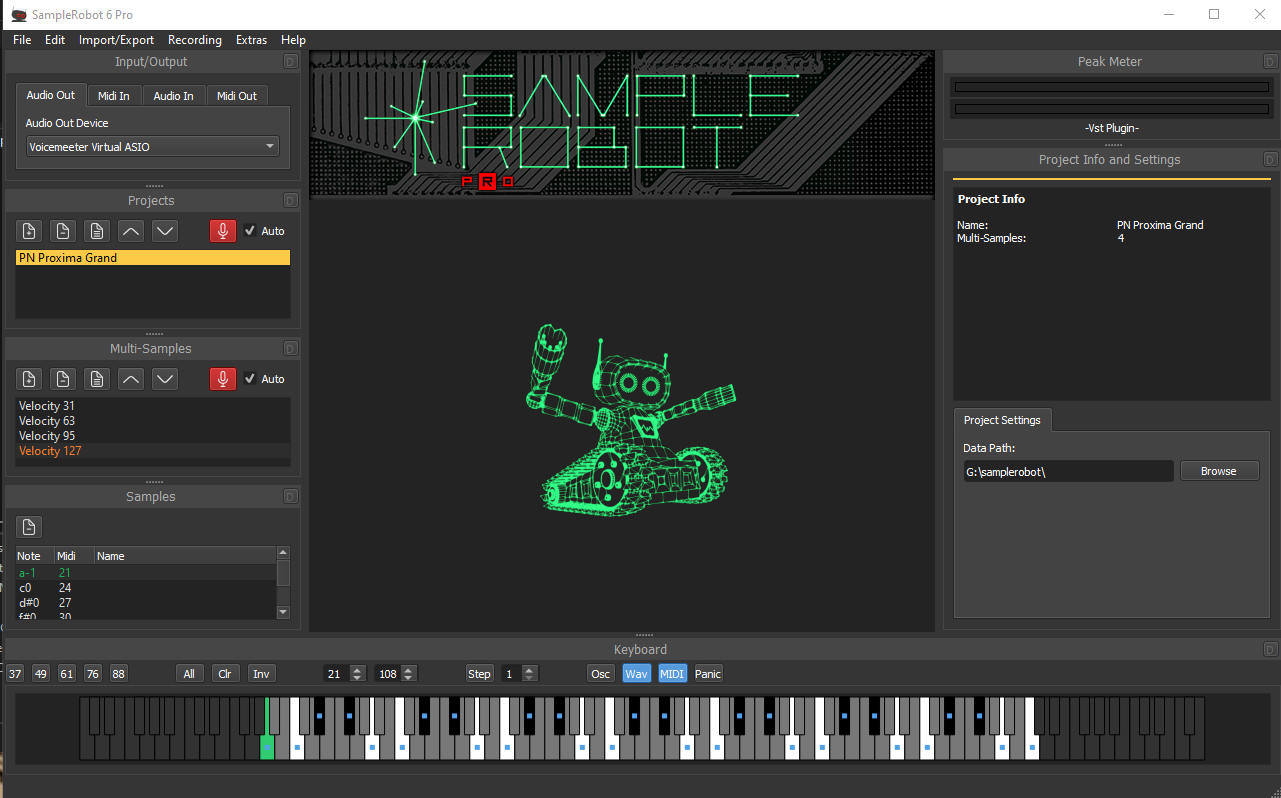
2.1. Load your sampling project into SampleRobot.
2.2. Export the samples from: Top Menu > Import/Export > Export selected Project as > WAV-Files
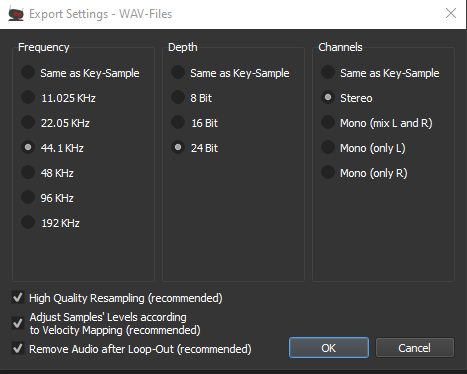
2.3. Select the sample format: 44.1kHz, 24 Bit, Stereo
2.4. Choose the default file naming rule: Long Default <#prj#>-<#msi#>-<#ms#>-<#mn#>-<#kn#>-<#n#>
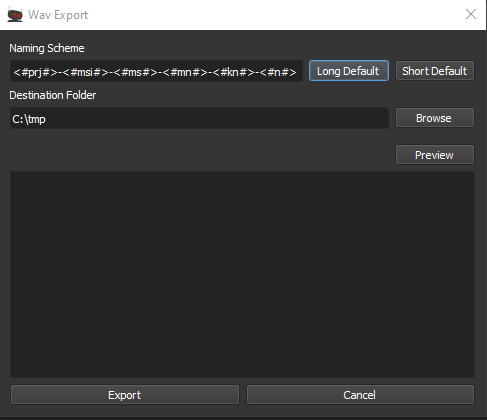
2.5. Verify the naming of the exported samples:
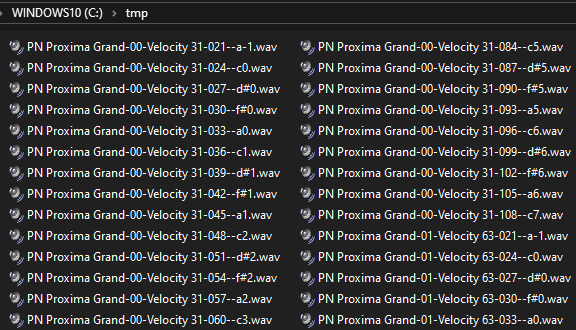
DiViNe Samples supports the following naming rule (regex) : (?<name>.*)-[0-9]{2}-Velocity (?<velocity>[0-9]{2,3})-[0-9]{3}--(?<key>[a-h]#?-?\\d)
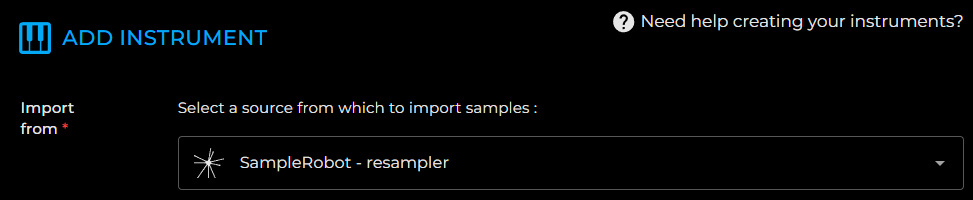
3. Select as Import Source
4. Drag and Drop the Folders Containing Your Samples
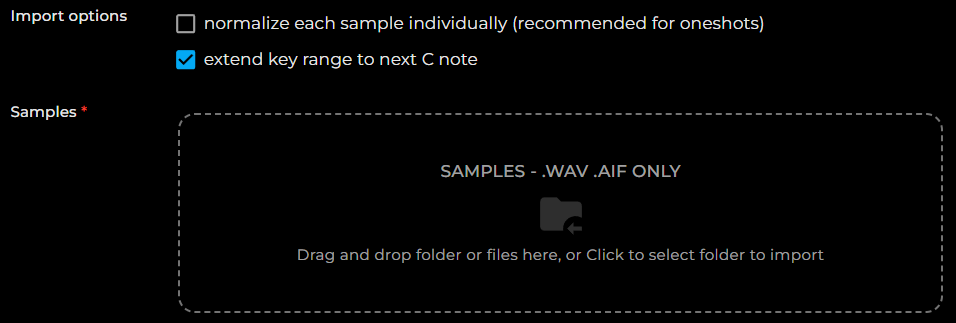
4.1. Choose your import options if necessary:
- Normalize each sample: Adjusts the volume level of each sample so that its peak reaches 0dB. ⚠️ this option should be avoided for a multi-sampled instrument
- Extend the note range to the next C: Ensures the note range extends to the note C for the first and last octave of the instrument.
4.2. Drag and drop all your samples into the drop zone.